Recently, I needed to use an animated illustration in an empty shopping cart component and came up blank. How do developers do this quickly and effectively? Enter Lottie.
Airbnb developed Lottie to enable designers and developers add complex animations to projects. All you need is an Adobe After Effects composition exported as a JSON file using Bodymovin. You can find such Lottie animations on LottieFiles, IconScout, icons8, and other similar marketplaces. You could also create yours.
Lottie works for the web, iOS, Android, and other platforms. But in this tutorial, we'll be working with Lottie in React.
The main Lottie package is lottie-web which works across all platforms. There are many React-based packages built on top of lottie-web, but lottie-web itself is pretty easy to use. All you need is a useEffect and useRef. Even if you've never used either of these before, you should be able to follow this tutorial easily.
I'm sticking to Lottie-web (for now) because it's the most robust version available. Also, you'll only have to learn how to use it once, and can apply that knowledge across different UI frameworks.
First, you'll need the animation file
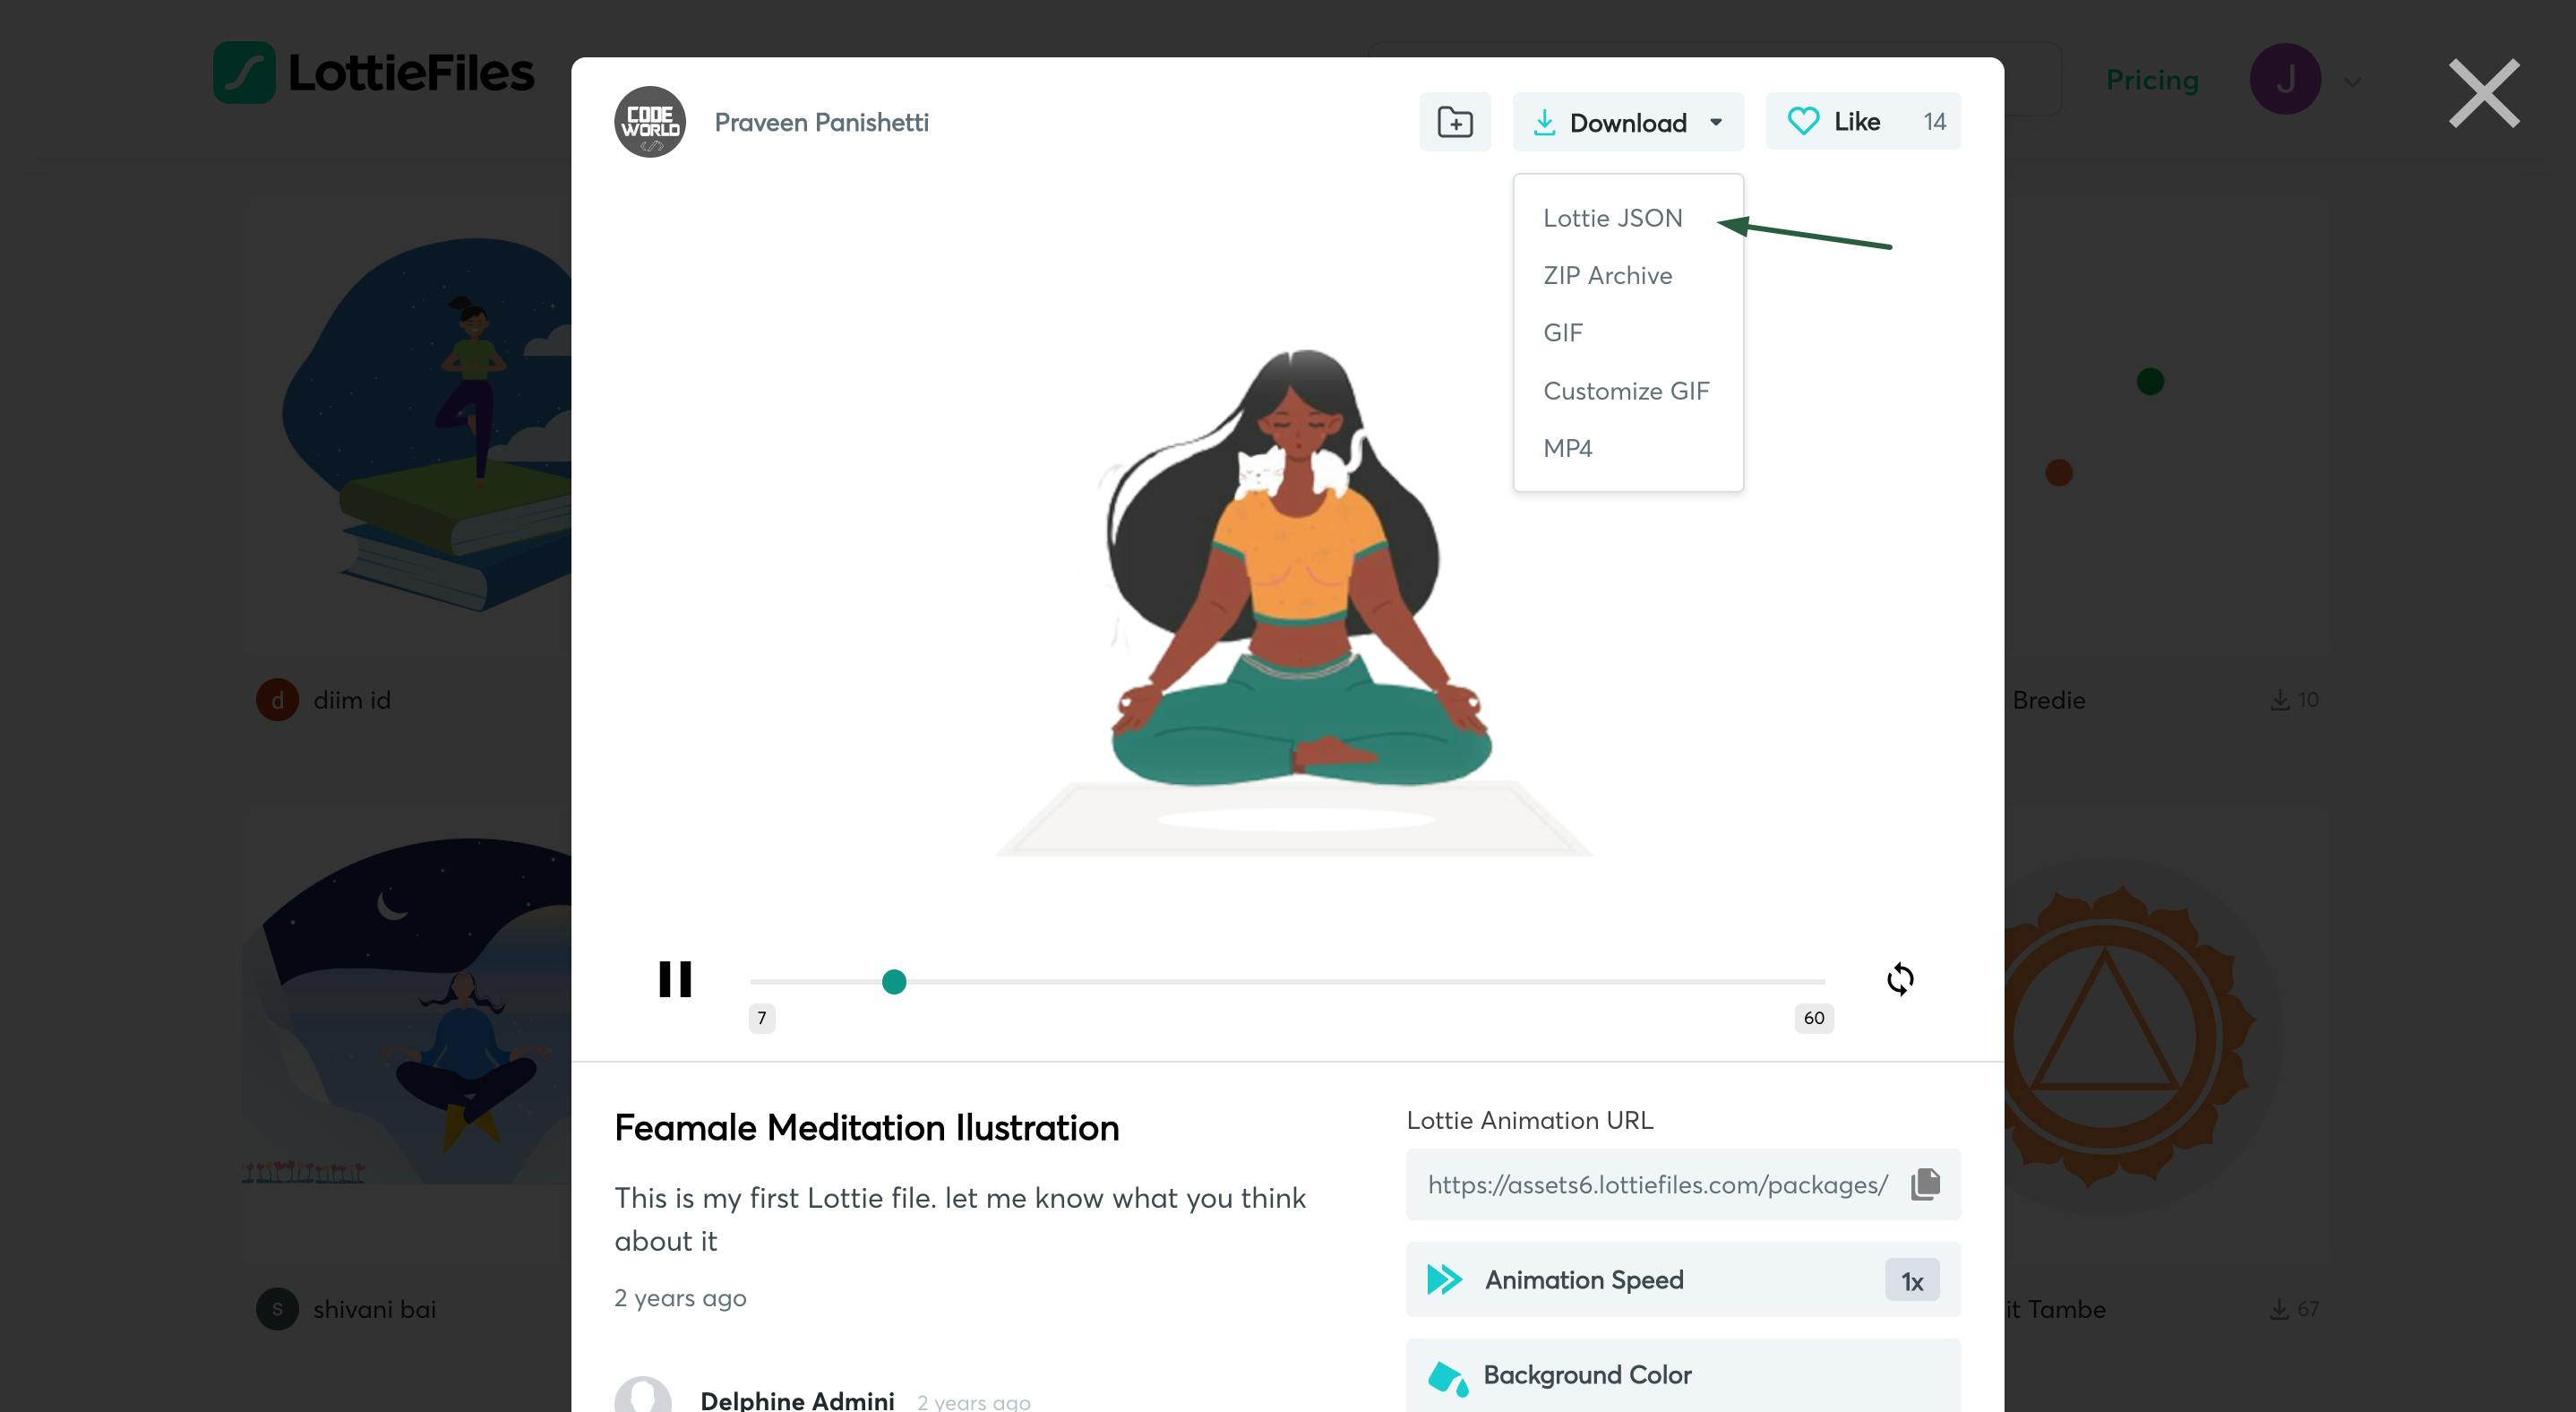
You probably already have the animation you want to use in your project. If so, you're ready to go. If not, you can get a free animation from LottieFiles. Simply create an account and search for animations that fit your need. For this tutorial, I'll be using this animated illustration.
When you select your animation, click 'Download' then 'Lottie JSON'.

I recommend you rename the downloaded JSON file to something readable before adding it to your react src folder. I personally add animations under src -> assets -> animations.
Next, install lottie-web in your react app
Install lottie-web using:
// npm
npm install lottie-web
// yarn
yarn add lottie-web
Let's render the animation
- Create the animation component and export it into the main page.
// animation.jsx
const Animation = () => {
  return <div></div>;
};

export default Animation;

// app.jsx
import Animation from "./animation";
import "./styles.css";

export default function App() {
  return (
    <div className="App">
      <h1 style={{ color: "#247064" }}>Breathe</h1>
      <Animation />
    </div>
  );
}
- Import lottie into your component and set up your ref and useEffect.
// animation.jsx
import { useEffect, useRef } from "react";
import lottie from "lottie-web";

const Animation = () => {
  const meditation = useRef(null);
  useEffect(() => {});
 }, []);

  return <div ref={meditation} className="animation"></div>;
};

export default Animation;
- Next, import your json data with an appropriate name and set up your Lottie instance. Pass the ref and data into the instance as well as other properties.
// animation.jsx
import { useEffect, useRef } from "react";
import lottie from "lottie-web";
import meditationJSON from "./female-meditation-ilustration.json";
const Animation = () => {
  const meditation = useRef(null);
  useEffect(() => {
    const instance = lottie.loadAnimation({
      container: meditation.current,
      renderer: "svg",
      loop: true,
      autoplay: true,
      animationData: meditationJSON
    });
    // clean up function here
    return () => instance.destroy();
  }, []);

  return <div ref={meditation} className="animation"></div>;
};

export default Animation;
If your app is rendered in strict mode, it's important to add a cleanup to prevent multiple rendering.
The basic configuration above will give you an animation that starts on page load and continues to loop. There's so much more you can do with Lottie such as set the speed of the animation, reverse, freeze, stop, set a number of loops, and more. You can also add events and event listeners for even better customized user experience. See the lottie-web documentation for a full list.
You can also style the animation div to define a height, width, background color, border-radius, and so on. Here's what my final result looks like.
You can access the code here on CodeSandbox.
Was this tutorial helpful? If yes, please leave a reaction and/or comment. Also drop any questions you may have in the comment section.
